SmartWings Matter Shades Review
a year ago • 5 min read

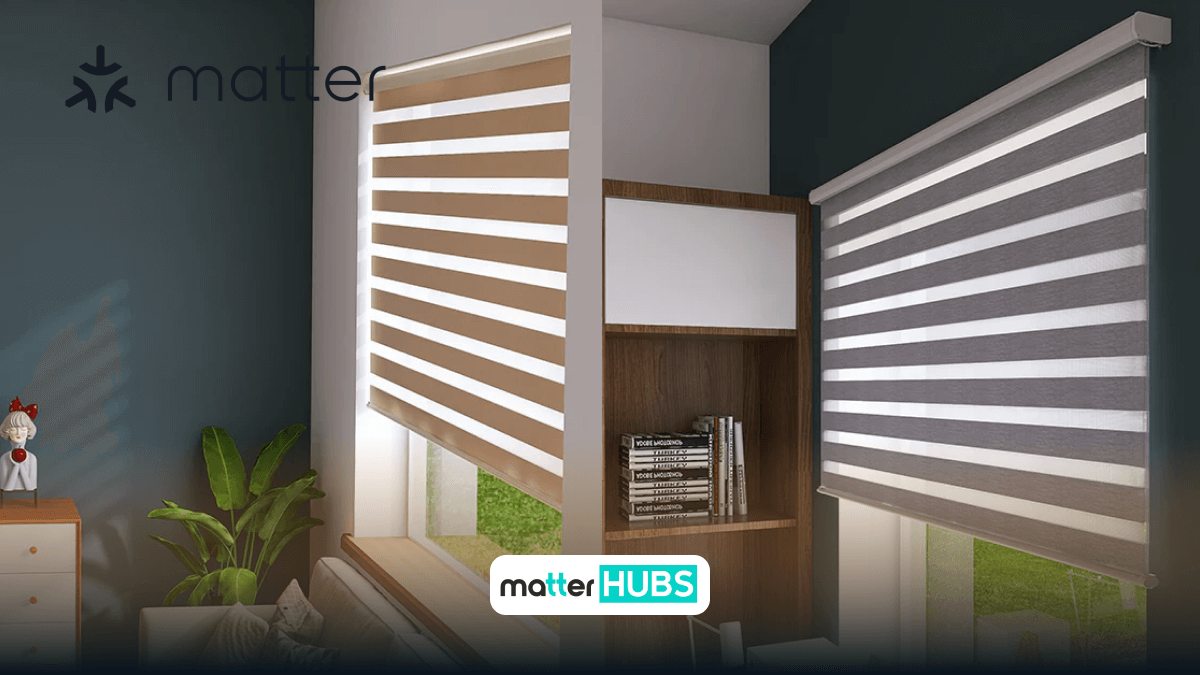
SmartWings shades are now supported by the Matter protocol. In this article, I focus on providing you with a comprehensive review of Matter SmartWings shades. Going through this article will ensure that you get the wise selection to raise your home in 2024. So, let's explore the key features, pros and cons as well as my personal experience in using these shades.
Here are some examples of SmartWings Matter Shades.
- SmartWings Roller Shades
- SmartWings Cellular Shades
- SmartWings Zebra Shades
- SmartWings Dual Shades
- SmartWings Woven Wood Shades
- SmartWings Outdoor Shades
Those shades are furnished with front-line technology that permits smooth functioning and exact supervision. The following are a bit of their major characteristics.
Key Features of SmartWings Matter Shades
- Automated Functionality - The automated structure allows easy movements of the shades with a button sensation.
- Incorporation with Smart Home networks - Matter shades are companionable with famous smart home networks. This combination permits users to manage the shades over voice instructions or mobile applications, improving availability and ease.
- Modified alternatives - These shades are available in a wide range of colors, and materials to match various likings and decoration styles.
- Energy Effectiveness - By efficiently controlling the exposure of the sunlight, SmartWings Shades manage the energy effectively.
- Improved Privacy and Protection - With the capability to organize motorized alterations they can ensure privacy and protection for your smart home network.
- Integrated with various smart home systems – SmartWings shade can relate to any smart home ecosystem.
Personal Experience as a User of SmartWings Woven Wood Shades
A few months ago, I purchased SmartWings Woven Wood Shades and I would like to share my personal experience with choosing, installing, and setting up the SmartWings Woven Wood shades.
When purchasing SmartWings woven wood shades, you first need to choose the measurements, blind type, fabric design, motor, and accessories. Once you’ve decided on a style and set your size, you’ll need to select a few additional options.
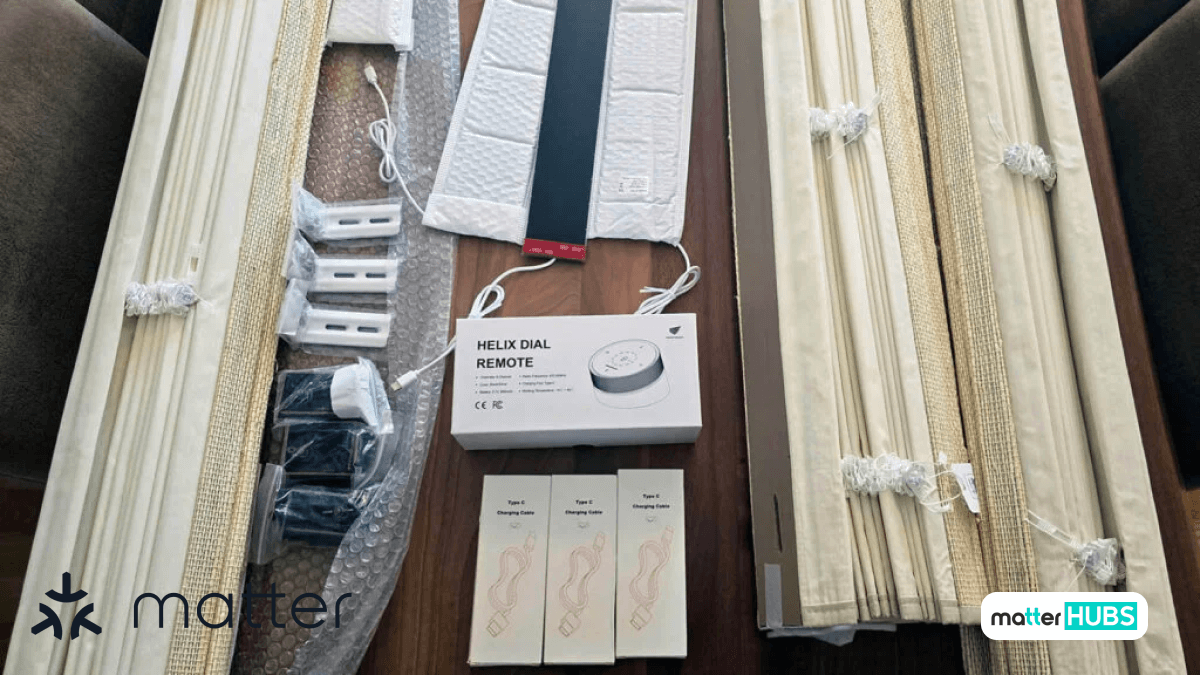
The first thing you need to decide on is the motor type. Among the connect versions, SmartWings offers Zigbee, Z-Wave, Alexa (Wi-Fi), HomeKit-over-Thread and Matter-over-Thread variants of their motors. I highly suggest going for a local-only protocol like Zigbee, Z-Wave or Thread and ignoring the others.
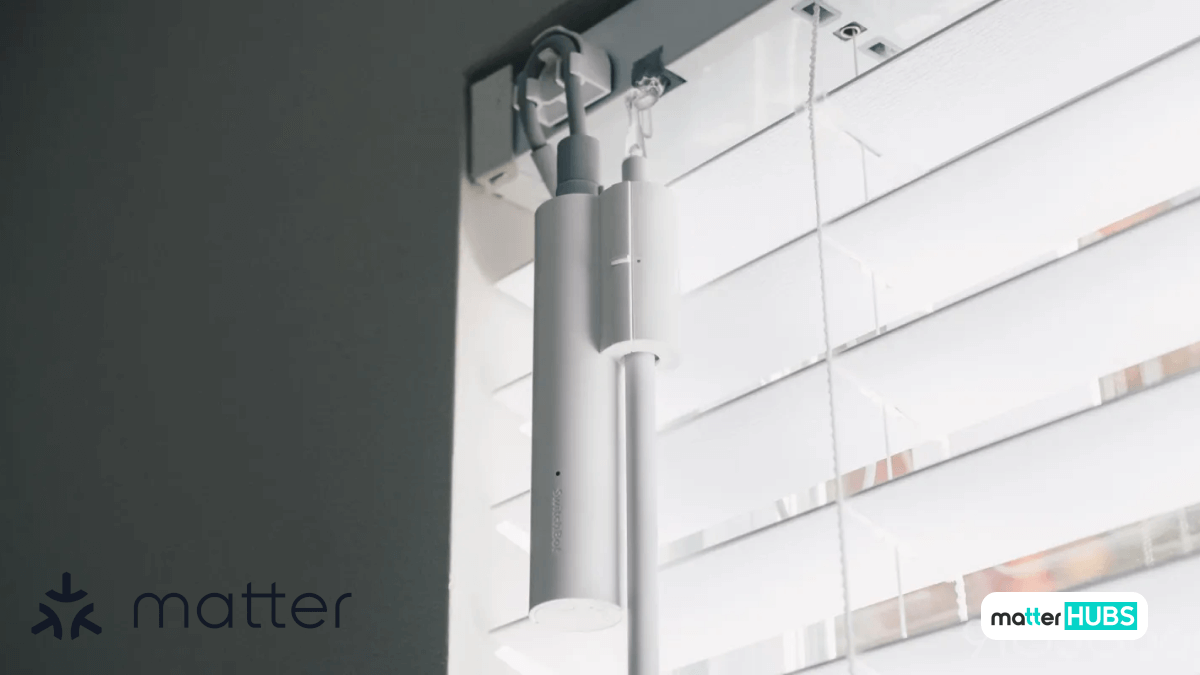
Each SmartWings motor can be charged via a USB-C cable. The USB-C connector and motor pairing button are located on the bottom. If you can, I recommend getting the solar panel as well. It makes it much easier to hide the wires and keeps the blinds charged at all times.
The final thing you need to choose is an optional remote. All SmartWings remotes are multi-channel and operate on 433 MHz. The Helix Dial Remote is much more expensive then the others, but it looks and feels so good.
SmartWings shades and blinds installation process is very easy and straightforward. All I needed for that was a measuring tape, a bubble level, a drill and some help. You can't do this alone. So get someone to help you.
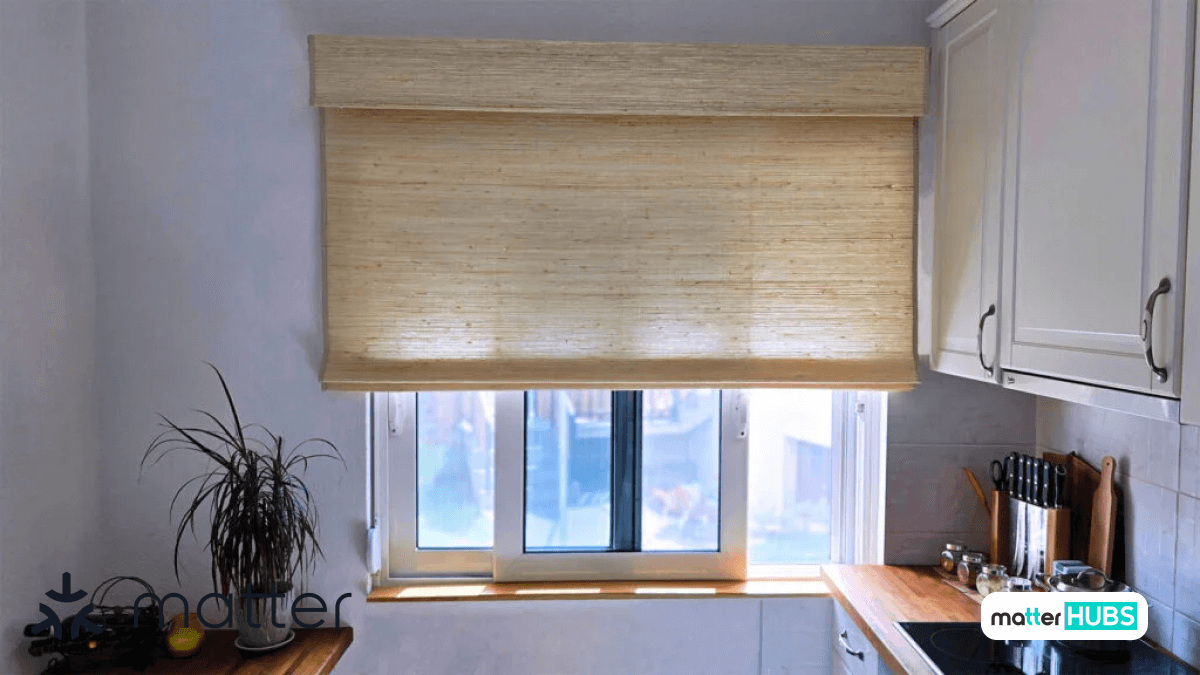
If you get a 433 MHz remote with the blinds, it will be automatically paired to each blind. You can cycle through the channels and try if it operates the blinds. If you need to re-pair the motor to the remote:
- Choose a CHANNEL on the remote
- Press and hold the PAIRING button on the motor until it jogs once
- Within 10 seconds, press and hold the STOP button on the remote
- The motor should jog twice, indicating the pairing is successful
As I mentioned, all blinds come pre-calibrated with their minimum and maximum limits set by SmartWings. If you do happen to need to change the limits, follow this procedure, repeating for up and down limits:
- Choose a CHANNEL on the remote
- Press and hold the UP & STOP button on the remote until it jogs once
- Move the maximum limit with UP or DOWN buttons (it moves in small increments)
- Press and hold the UP & STOP button on the remote until it jogs twice
According to my experience, I have experienced more advantages of these shades as well as disadvantages. So, I thought it would be better if I shared the advantages and disadvantages that I experienced with you. It would be helpful to you to understand SmartWings Shades.
Read the about the Best EveHome Matter Products.
Advantages and Disadvantages of Matter SmartWings Shades
Reasons to Buy
- Easy to use
- Energy effectiveness
- Ability to personalize based on your preference
- Can be integrated with any smart home network
- Privacy and protection are at an improved level
- Ability to access remotely
Reasons to Avoid
- Cost is initially high
- The installation process is complex
- depended on power
- There are limitations to the compatibility
- It may require periodical maintenance
Read about the Best Thread Hubs in 2025 and the best IoT devices in 2025.
Alternative Smart Curtain Shades
SwitchBot Smart Blind Tilt
- Simple Installation: With only a little installation, SwitchBot Blind Tilt immediately makes your blinds smarter.
- Schedule and Automations - Set schedules and automate your blinds to open/close based on time or sunlight.
- Matter Compatibility - Works with Matter-enabled platforms like Alexa, Google Home and Apple HomeKit.
- App Control - Remotely control your blinds using the SwitchBot app for iOS and Android.
Read about the Best Matter Devices in 2025.
Conclusion
SmartWings Smart Blinds and Shades are not a low-cost product, so the decision ultimately comes down to how much you value premium blinds like these. In terms of build quality and smart features, they are undeniably top-notch. I can easily recommend them to anyone who dreams of turning their home into a smart, beautiful home.
FAQs
Absolutely! You can manage SmartWings Shades remotely over its companion mobile application if you have a stable internet connection
Certainly! Those shades can merge with any smart home network and Matter. It ensures compatibility with a large area of smart devices.
In the installation process, you need to set up the shades and pair them with the allocated hub or controller. You can find the instructions in the user manual given.
First charge is about 6 hours; subsequent charges should also take around 6 hours to fully charge.
- Select the current channel first then pairing to the motor.
- After holding the P button on the motor head until the motor jogs once, press and hold the STOP button on your remote within 2 seconds.

